15 Developer Tools to Make You Super Productive

15 Developer Tools to Make You Super Productive

The best software developers arm themselves with superior knowledge of specific tools that get the job done.

Pairing with experienced developers leaves you with many tips, tricks, shortcuts, and tools that they have access to and mastered to help them focus on a product’s business logic.

Today, I’ll show you 15 developer tools that’ll improve your productivity immensely.

Let’s go!

1. Cloudinary

Cloudinary is a full-stack media service that stores, transforms, optimizes, and delivers all your media assets with easy-to-use APIs and widgets.

Cloudinary is an excellent choice if you want to do the following:

  • Build a feature/app that stores tons of images and videos.
  • Build a UI that allows single and multiple uploads. Cloudinary provides a plug-and-play skinnable UI widget, so you & your team don’t need to build any UI.
  • Make your app and website load faster. Cloudinary delivers media assets insanely quickly via their global CDN!
  • Build a feature/app for video delivery and transformation like Instagram. Cloudinary provides several APIs to help with that.
  • Build a backend service that crops, manipulates, transforms, reads text from images, extracts captions from videos using AI, compresses and optimizes media files.

Cloudinary provides several SDKs for different languages and frameworks to make integration a walk in the park!

2. Sourcegraph

Sourcegraph is a software tool that allows you to search all of your code. It provides precise code intelligence and insights. With Sourcegraph, you search small, medium and enormous codebases like LinuxKubernetesChrome, etc.

Sourcegraph is an excellent choice if you want to do the following:

  • Search all of your public and private code across several repositories.
  • Find all occurrences of code across your organization.
  • Search for how other developers use specific API and code blocks across more than two million open source repositories on GitHub and Gitlab.
  • Refactor codebase easily and in record time.
  • Provide precise code intelligence for all of your code.
  • Create real-time dashboards to track the progress of migrations, deprecations, or usage of anything that can be found with a Sourcegraph search.
  • Automate large-scale code changes. You can find and modify code across several repositories with a single file—no need to make several PRs across several code repositories to make a simple change. Sourcegraph Batch changes can do that for you!

3. Insomnia

Insomnia is a software tool that enables you to test API endpoints quickly. 

Insomnia is an excellent choice if you want to do the following:

  • Test Rest, Soap, GraphQL and GRPC API endpoints while building.
  • Generate API documentation for your codebase.
  • Build API pipelines.
  • Design APIs using OpenAPI.

4. Netlify

Netlify is a service that builds and deploys your front-end code quickly. It provides a very efficient workflow for creating apps with many developers.

Netlify is an excellent choice if you want to do the following:

  • Deploy front-end code to the Internet with ease. Build Jamstack apps. Netlify places a massive bet on Jamstack and provides tools and resources to build and develop Jamstack apps.
  • Generate new unique and publicly available URLs on every pull request and commit for other developers and QA folks to test what you’re building on the fly. Serve static assets with fast CDN.

5. Retool

Retool is a software tool that enables you to build internal tools without writing a line of code. 

Retool is an excellent choice if you want to do the following:

  • Build a dashboard / UI internally to monitor and modify data. With Retool, you can connect to your database or any data source and use their drag-and-drop components to build your internal tools remarkably fast.
  • Make non-developers have access to the database without setting up a database environment for them.
  • Provide customer support with tools to debug customer problems without building a new set of tools for them.

6. Laravel Forge

Laravel Forge is a software service that eliminates the headache of building, managing, fine-tuning, deploying and upgrading servers for PHP applications.

Laravel Forge is an excellent choice if you want to do the following:

  • Be responsible for your servers with minimal or no knowledge of DevOps.
  • Deploy and manage Laravel, WordPress, Statamic, PHP, and Database server instances.
  • Focus on building applications without the additional headache of managing queue workers and scaling server instances.

7. AWS Amplify

AWS Amplify is a set of tools and services that front-end, web and mobile developers can use together or individually to build scalable full-stack applications powered by AWS.

AWS Amplify is an excellent choice if you want to do the following:

  • Deploy static web apps to the Internet in a few clicks.
  • Provide non-developers with an admin UI to manage app content.
  • Add authentication to your apps without building/managing/writing auth code from scratch.
  • Provide a simple mechanism for managing user-generated content for your app in public, protected or private AWS storage buckets.

8. Auth0

Auth0 is a service best known for providing developers authentication, federated identity, single sign-on, and serverless features. In addition, they manage and maintain the most extensively used open-source authentication module, passport, in the global developer ecosystem!

Auth0 is an excellent choice if you want to do the following:

  • Add primary and social (Facebook, Google, LinkedIn, Dropbox) authentication to your web and mobile apps.
  • Add Single Sign-On features to your suite of apps.
  • Add Federated Identity to your apps.
  • Build serverless services. Auth0 webtask enables you to develop serverless apps.
  • Add Passwordless authentication to your apps.

9. Garden

Garden is a cloud service that enables fast and efficient Kubernetes development. It’s a tool that simplifies and manages the development of your Kubernetes instances while building distributed applications.

Garden is an excellent choice if you want to do the following:

  • You don’t want to deal with managing and developing Kubernetes instances yourself.

10. Bitrise

Bitrise is a fast, flexible and scalable mobile CI/CD service that simplifies the development and deployment of all your mobile apps.

Bitrise is an excellent choice if you want to do the following:

  • Need over the air deployment service to share your app updates quickly with users
  • Run several test runners against mobile app code PRs automatically
  • Build, deploy and release your code host (e.g. Github) branches automatically into executables for different platforms. E.g. With your hybrid apps such as Flutter and Ionic, Bitrise automatically builds the bundles for Android and iOs platforms.
  • Need a service to handle all the DevOps for your mobile apps while focusing on code.

11. Vercel

Vercel is a developer-focused service. As a result, it’s one of the best tools to deploy any front-end app in less than three clicks.

Vercel is an excellent choice if you want to do the following:

  • Deploy your front-end codebase with one click. It allows you to import a repo from GitHub, Gitlab and Bitbucket and returns the deployed URL in record time.
  • Get a preview URL for every change pushed to your code host.
  • Get started with a battle-tested front-end framework and e-commerce templates.
  • Ship production-ready, highly available fast websites with Next.js (Vercel authors and maintains this framework). Static assets are served through Vercel’s CDN automatically.

12. EasyCron

Easycron is a service that runs all your cron jobs for you on the cloud. No hassles, easy setup!

Easycron is an excellent choice if you want to do the following:

  • You don’t want to go through the hassle of setting up crontabs and infrastructure on your servers for recurring jobs.
  • You have a serverless function or API URL that needs to run recurrently. You can add it to EasyCron and set the recurring times via the UI. That’s it! If the jobs fail at any time, EasyCron sends notifications to you about the failure.
  • You want to have the luxury of turning your jobs on and off easily and manually running them. EasyCron provides an easy UI to manage your cron jobs.
  • You want to clone existing jobs. EasyCron handles that as well.

13. WakaTime

WakaTime is a tool that automatically reports stats and metrics right from your code editor. In addition, it provides a dashboard with a breakdown of time spent working on tasks.

WakaTime is an excellent choice if you want to do the following:

  • You want to measure the time you spend on coding tasks.
  • You want to know the files and areas of a project or codebase you devote time to.
  • You want to set coding goals.
  • Email reports of coding stats.

Over 50 open-source editor plugins are available for WakaTime.

14. EverSQL

EverSQL is a service that predicts performance bottlenecks and automatically optimizes your SQL queries using AI.

EverSQL is an excellent choice if you want to do the following:

15. Ngrok

Ngrok is a tool that provides an instant, secure and shareable URL to your localhost server through any NAT or firewall.

Ngrok is an excellent choice if you want to do the following:

  • Share a locally running project with co-workers.
  • Testing any auth flow from sites such as Twitter that expect a valid HTTPS connection for the callback.
  • Replay HTTP requests made to your URL for introspection.

More Tools?

I’ll like to know what services & software tools make you super productive as a software developer. 

Feel free to drop it in the comment section!

@Credit https://dev.to/sourcegraph/15-developer-tools-to-make-you-super-productive-2g0a

Managing loading status for React is much easier with loadio

Managing loading status for React is much easier with loadio

Introduction

Many projects contain asynchronous calls. The operation of these may be unaware of the user, or the user may need to know about that status. 

In order to notify the user of this, the loading component is shown on the screen and the user is informed that something is running. At this point, the management of asynchronous methods should be managed in various ways and the component should be demonstrated.

Today, I will show you how you can handle this in an easy way with loadio.

loadio

This package is a simple to use tool that allows you to manage status information with promises.

Install it with:

import { withPool, useStatus } from "loadio"; 
const fetch = withPool(global.fetch);

Wrap the method you want to follow the status information.

import { withPool, useStatus } from "loadio"; 
const fetch = withPool(global.fetch);

Or add promise directly into it with PoolManager

PoolManager.append(fetch("get/data"));

And that’s all. You can easily view the status on your home page by calling the new method you have wrapped in place of the old one.

import { useStatus } from "loadio";
function HomePage({ isLoading }) {
  const status = useStatus();
  return (
    <>
      {isLoading ? "Loading..." : "Loaded!"}
      <button onClick={() => myWrappedfetch("get/data")}>Get</button>
    </>
  );
}

It also generates a percentage of information according to the number of tasks.

{
    isLoading?: boolean,
    percentage?: number,
    runningTasks?: number
}

A complete example with React Component is as follows.

import React from "react";
import { withPool, useStatus } from "loadio"; 
const fetch = withPool(global.fetch);

class HomePage extends React.Component {

  render(){
    const { isLoading, percentage } = this.props;  
    return (
      <>
        {isLoading ? "Loading..." : "Loaded!"}
        {percentage + "%"}
        <button onClick={() => fetch("get/data")}>Get</button>
      </>
    );
  }
}
export default withStatus(HomePage);

Demo

@Credit Dev.to

20 useful free resources for Web Developers

20 useful free resources for Web Developers

Checkout some useful resources for Web Developer

1.  HTML and CSS Free Templates

2.  The Modern JavaScript Tutorial

3.  JavaScript questions

4.  JavaScript Cheat Sheet

5.  Squarespace logo Maker

6.  Flexbox Defense

7.  Grid Garden

8.  100 Free Illustrations

9.  Curated Colors in Context

10. Learn Git Branching Interactively

11.  Free Image and Photo Resizer

12.  Public APIs

13.  Lorem Picsum

14.  Responsively

15.  Website Speed test

16.  Dev fonts 

17.  Codeimg

18.  Generative Placeholders

19.  Wireframer

20.  Git Command Explorer

@Credit https://dev.to/pascavld/20-useful-free-resources-for-web-developers-2c3n

Apache Install and Running PHP 5.6 / PHP 7.2 on the Centos 7 x64

Apache Install and Running PHP 5.6 / PHP 7.2 on the Centos 7 x64

In this tutorial we will set up multiple PHP Versions which is 5.6 & 7.2 on the Apache same machine.

it’s very practical and common to have multiple php versions and run it simultaneously with apache on a single server. Maybe you have a php script and want to test it with multiple php version. in such case this article is for you.


1- Install prerequisites

before installing and running two php versions, we need to install apache and some repository. so execute these commands:

yum install httpd
yum install epel-release
yum install yum-utils

2- Install multiple php versions

php-fpm is available in remi repository. so we install this repo and then after multiple php versions:

yum install http://rpms.remirepo.net/enterprise/remi-release-7.rpm
yum install php56 
yum install php72
yum install php56-php-fpm
yum install php72-php-fpm

3- Configure SELinux

Install Selinux Policy Targeted

yum install selinux-policy-targeted

to allow selinux run php-fpms scripts, run these commands:

semanage port -a -t http_port_t -p tcp 9072
semanage port -a -t http_port_t -p tcp 9056

4- Configure php-fpm

by default, each php-fpm version is listening on port 9000. because we want to run multiple php versions, we need to change default port:

sed -i 's/:9000/:9056/' /etc/opt/remi/php56/php-fpm.d/www.conf
sed -i 's/:9000/:9072/' /etc/opt/remi/php72/php-fpm.d/www.conf

Start the php-fpm

systemctl start php72-php-fpm
systemctl start php56-php-fpm

now we need to make script wrapper to call php56-cgi and php72-cgi:

cat > /var/www/cgi-bin/php56.fcgi << EOF
#!/bin/bash
exec /bin/php56-cgi
EOF

cat > /var/www/cgi-bin/php72.fcgi << EOF
#!/bin/bash
exec /bin/php72-cgi
EOF

Then we set executable bit on both scripts:

sudo chmod 755 /var/www/cgi-bin/php56.fcgi
sudo chmod 755 /var/www/cgi-bin/php72.fcgi

5- Configure apache

Here we create two path. one for php-fpm56 and another for php-fpm72. you can change these paths with your own:

Php7.2 /var/www/html

Php5.6 /var/www/html56

Edit conf file /etc/httpd/conf.d/php.conf

ScriptAlias /cgi-bin/ "/var/www/cgi-bin/"
AddHandler php56-fcgi .php
Action php56-fcgi /cgi-bin/php56.fcgi
Action php72-fcgi /cgi-bin/php72.fcgi

<Directory /var/www/html56>
  DirectoryIndex index.php
  AllowOverride all
  Require all granted
  AddHandler php56-fcgi .php
  Action php56-fcgi /cgi-bin/php56.fcgi
</Directory>
<Directory /var/www/html>
  DirectoryIndex index.php
  AllowOverride all
  Require all granted
  AddHandler php72-fcgi .php
  Action php56-fcgi /cgi-bin/php72.fcgi
</Directory>
#
# The following lines prevent .user.ini files from being viewed by Web clients.
#
<Files ".user.ini">
    <IfModule mod_authz_core.c>
        Require all denied
    </IfModule>
    <IfModule !mod_authz_core.c>
        Order allow,deny
        Deny from all
        Satisfy All
    </IfModule>
</Files>

#
# Allow php to handle Multiviews
#
AddType text/html .php

#
# Add index.php to the list of files that will be served as directory
# indexes.
#
##DirectoryIndex index.php

<FilesMatch \.php


gt;
SetHandler "proxy:fcgi://127.0.0.1:9072"
</FilesMatch>
# Some legacy application use PHP 5.5
<Directory /var/www/html56>
<FilesMatch \.php

gt;
SetHandler "proxy:fcgi://127.0.0.1:9056"
</FilesMatch>
</Directory>

6- Start services

Now we enable and start apache and php-fpm services:

systemctl enable httpd
systemctl enable php56-php-fpm
systemctl enable php72-php-fpm

systemctl start httpd
systemctl start php56-php-fpm
systemctl start php72-php-fpm

7- Check for result


Good luck! All Done

5 curated frontend UI kits for your next web app

5 curated frontend UI kits for your next web app

Frontend UI kits enable developers to quickly launch digital products without having to consider the design language surrounding their coded components. They also enable UX designers to quickly iterate on product flows and test options during the MVP stage of product development.

Most great startups don’t find their perfect design language or color palette on their first iteration. With time and much customer feedback, those things fall into place as a product is assigned value by the market.

During the early MVP (minimum viable product) days, having a way for both the UX design side, and the coding side to quickly combine their efforts in a unified way increases group performance ten fold. UX kits provide that role.

Below, I’ve curated some of the best options currently available on the market, along with the pros and cons of each to help you better choose amongst them. At the end, I’ve also given you a custom option that, while initially time consuming, will enable you to create your own custom, quick-start UI kit for any future projects you begin.

Shards by Design Revision

Price: Free & Premium
Framework: Bootstrap 4
Available for: Vue, React, Bootstrap HTML

(The FREE version includes some components that are NOT in the PRO version, so reference the demos of both if you are looking for something specific)


Pros:

  • Beautiful use of color, shadow and white space. Overall, this is one of the best-looking UI kits I’ve seen with many well-considered details
  • Includes a Sketch design file
  • Having personally used this in a few projects already, I can say that the documentation is robust and very easy to use
  • Plenty of components and layouts. Everything is easy to customize for whatever kind of web app you want to build. Components include a text editor, file management, blog layout, and many others

Cons:

  • Code is not quite as flushed out as some other options, but good developers probably won’t mind this
  • Sketch design file does not utilize symbols or responsive layout features

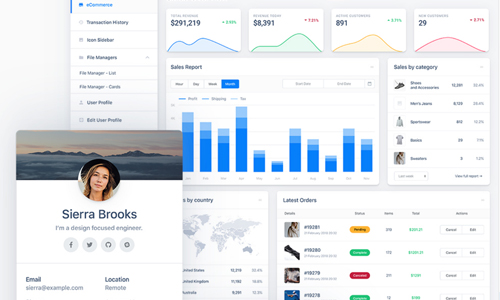
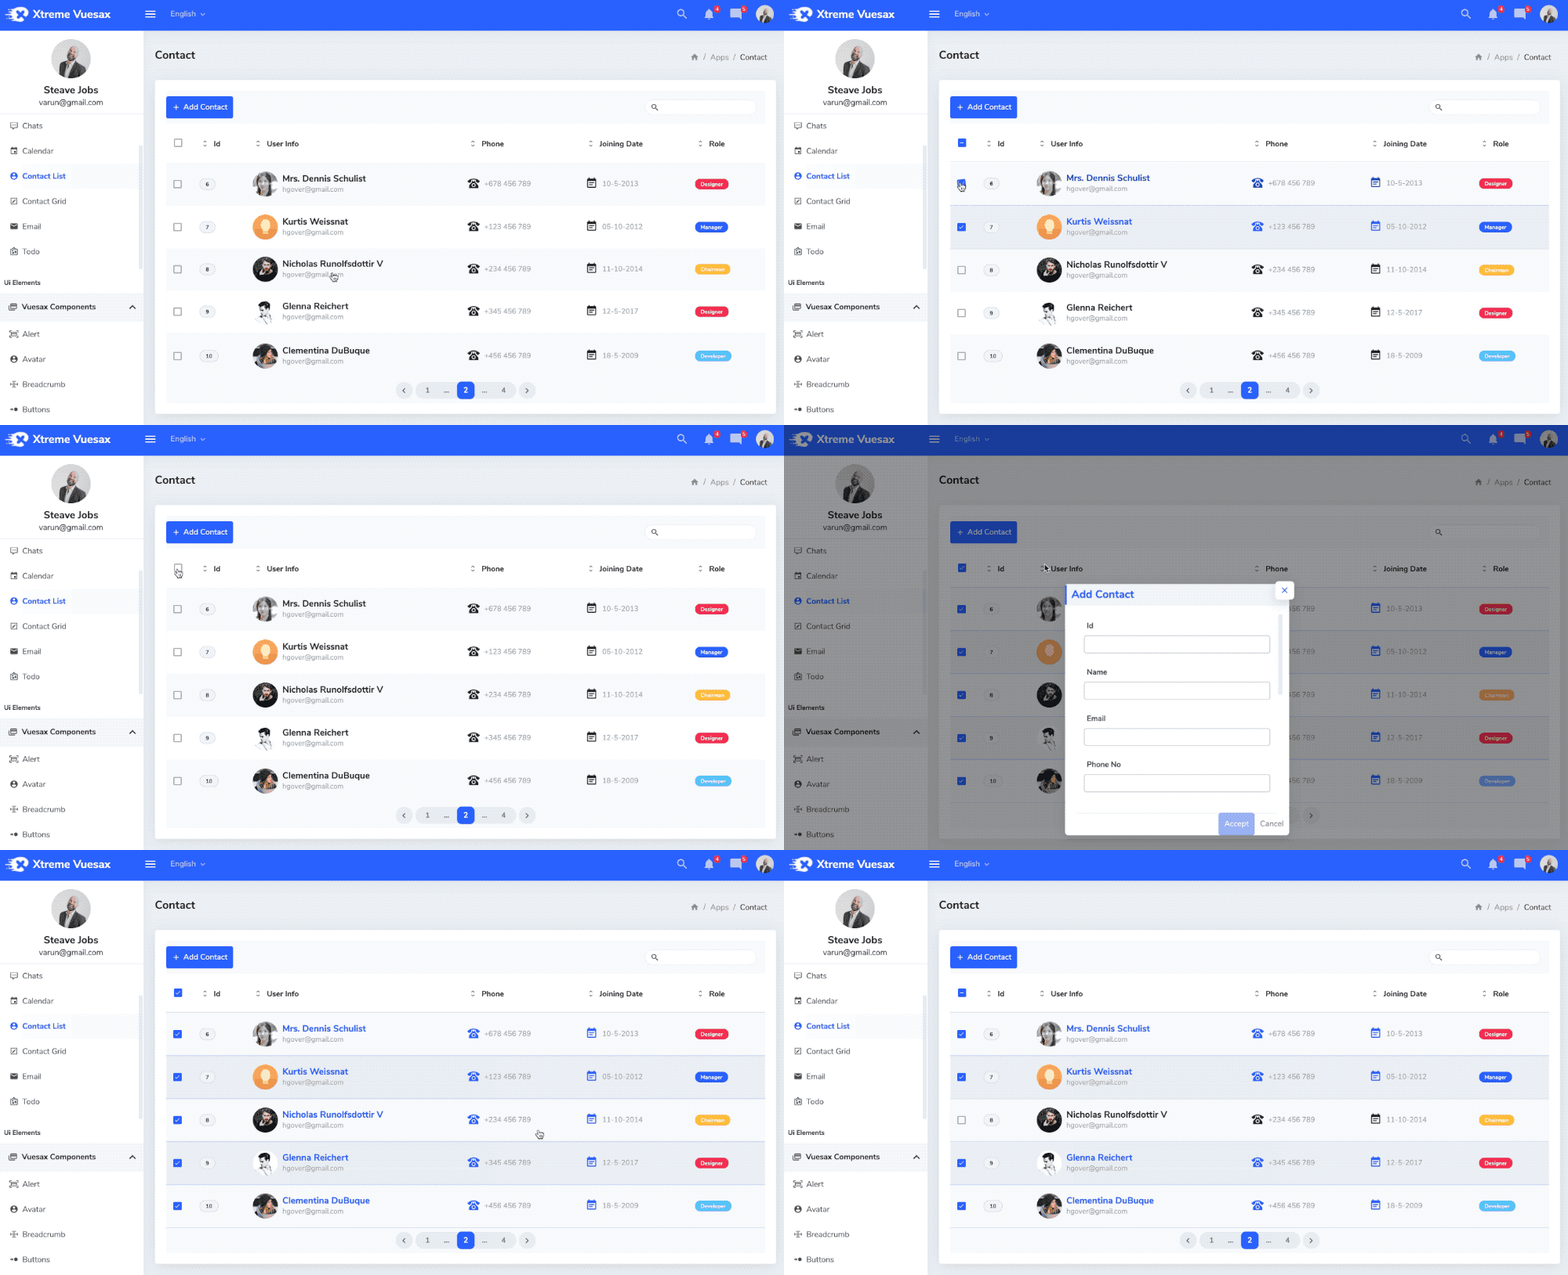
Xtreme Vuesax by WrapPixel

Price: Free & Premium
Framework: Bootstrap 4
Available for: Vue, React, Angular, Bootstrap HTML


Pros

  • Based on Vuesax, so you get the power of that kit and their user community of components out of the box
  • Includes light, dark, and color-based themes
  • Many components, including a drag-n-drop Trello-style UI and a form wizard for quick multi-page form creation
  • Some of the most comprehensive tables I’ve seen. If your app is table-heavy, definitely check this one out
  • Component code is quite extensive and not just stubbed out like many other kits
  • Quick-reference icon library

Cons

  • This isn’t the prettiest kit out there, but with a bit of customization you should be able to tailor it to your own style
  • Based on Vuesax (that’s right, it’s a pro and a con). According to Vuesax’s on website, it isn’t recommended to be used in a production level app, however depending on what you’re building, this still seems like a viable option, or a good choice for an MVP. Do your research and make the correct choice accordingly.

Element

Price: Free
Framework: Bootstrap 4
Available for: Vue, React, Angular


Pros

  • Create and download custom themes via their website
  • Includes a Sketch design file
  • Lots of components, including some that other kits lack, like form steps and file upload components
  • Includes animations with clean transitions
  • List rendering options including infinite scroll with smart loading
  • Utility naming is short and easy to remember
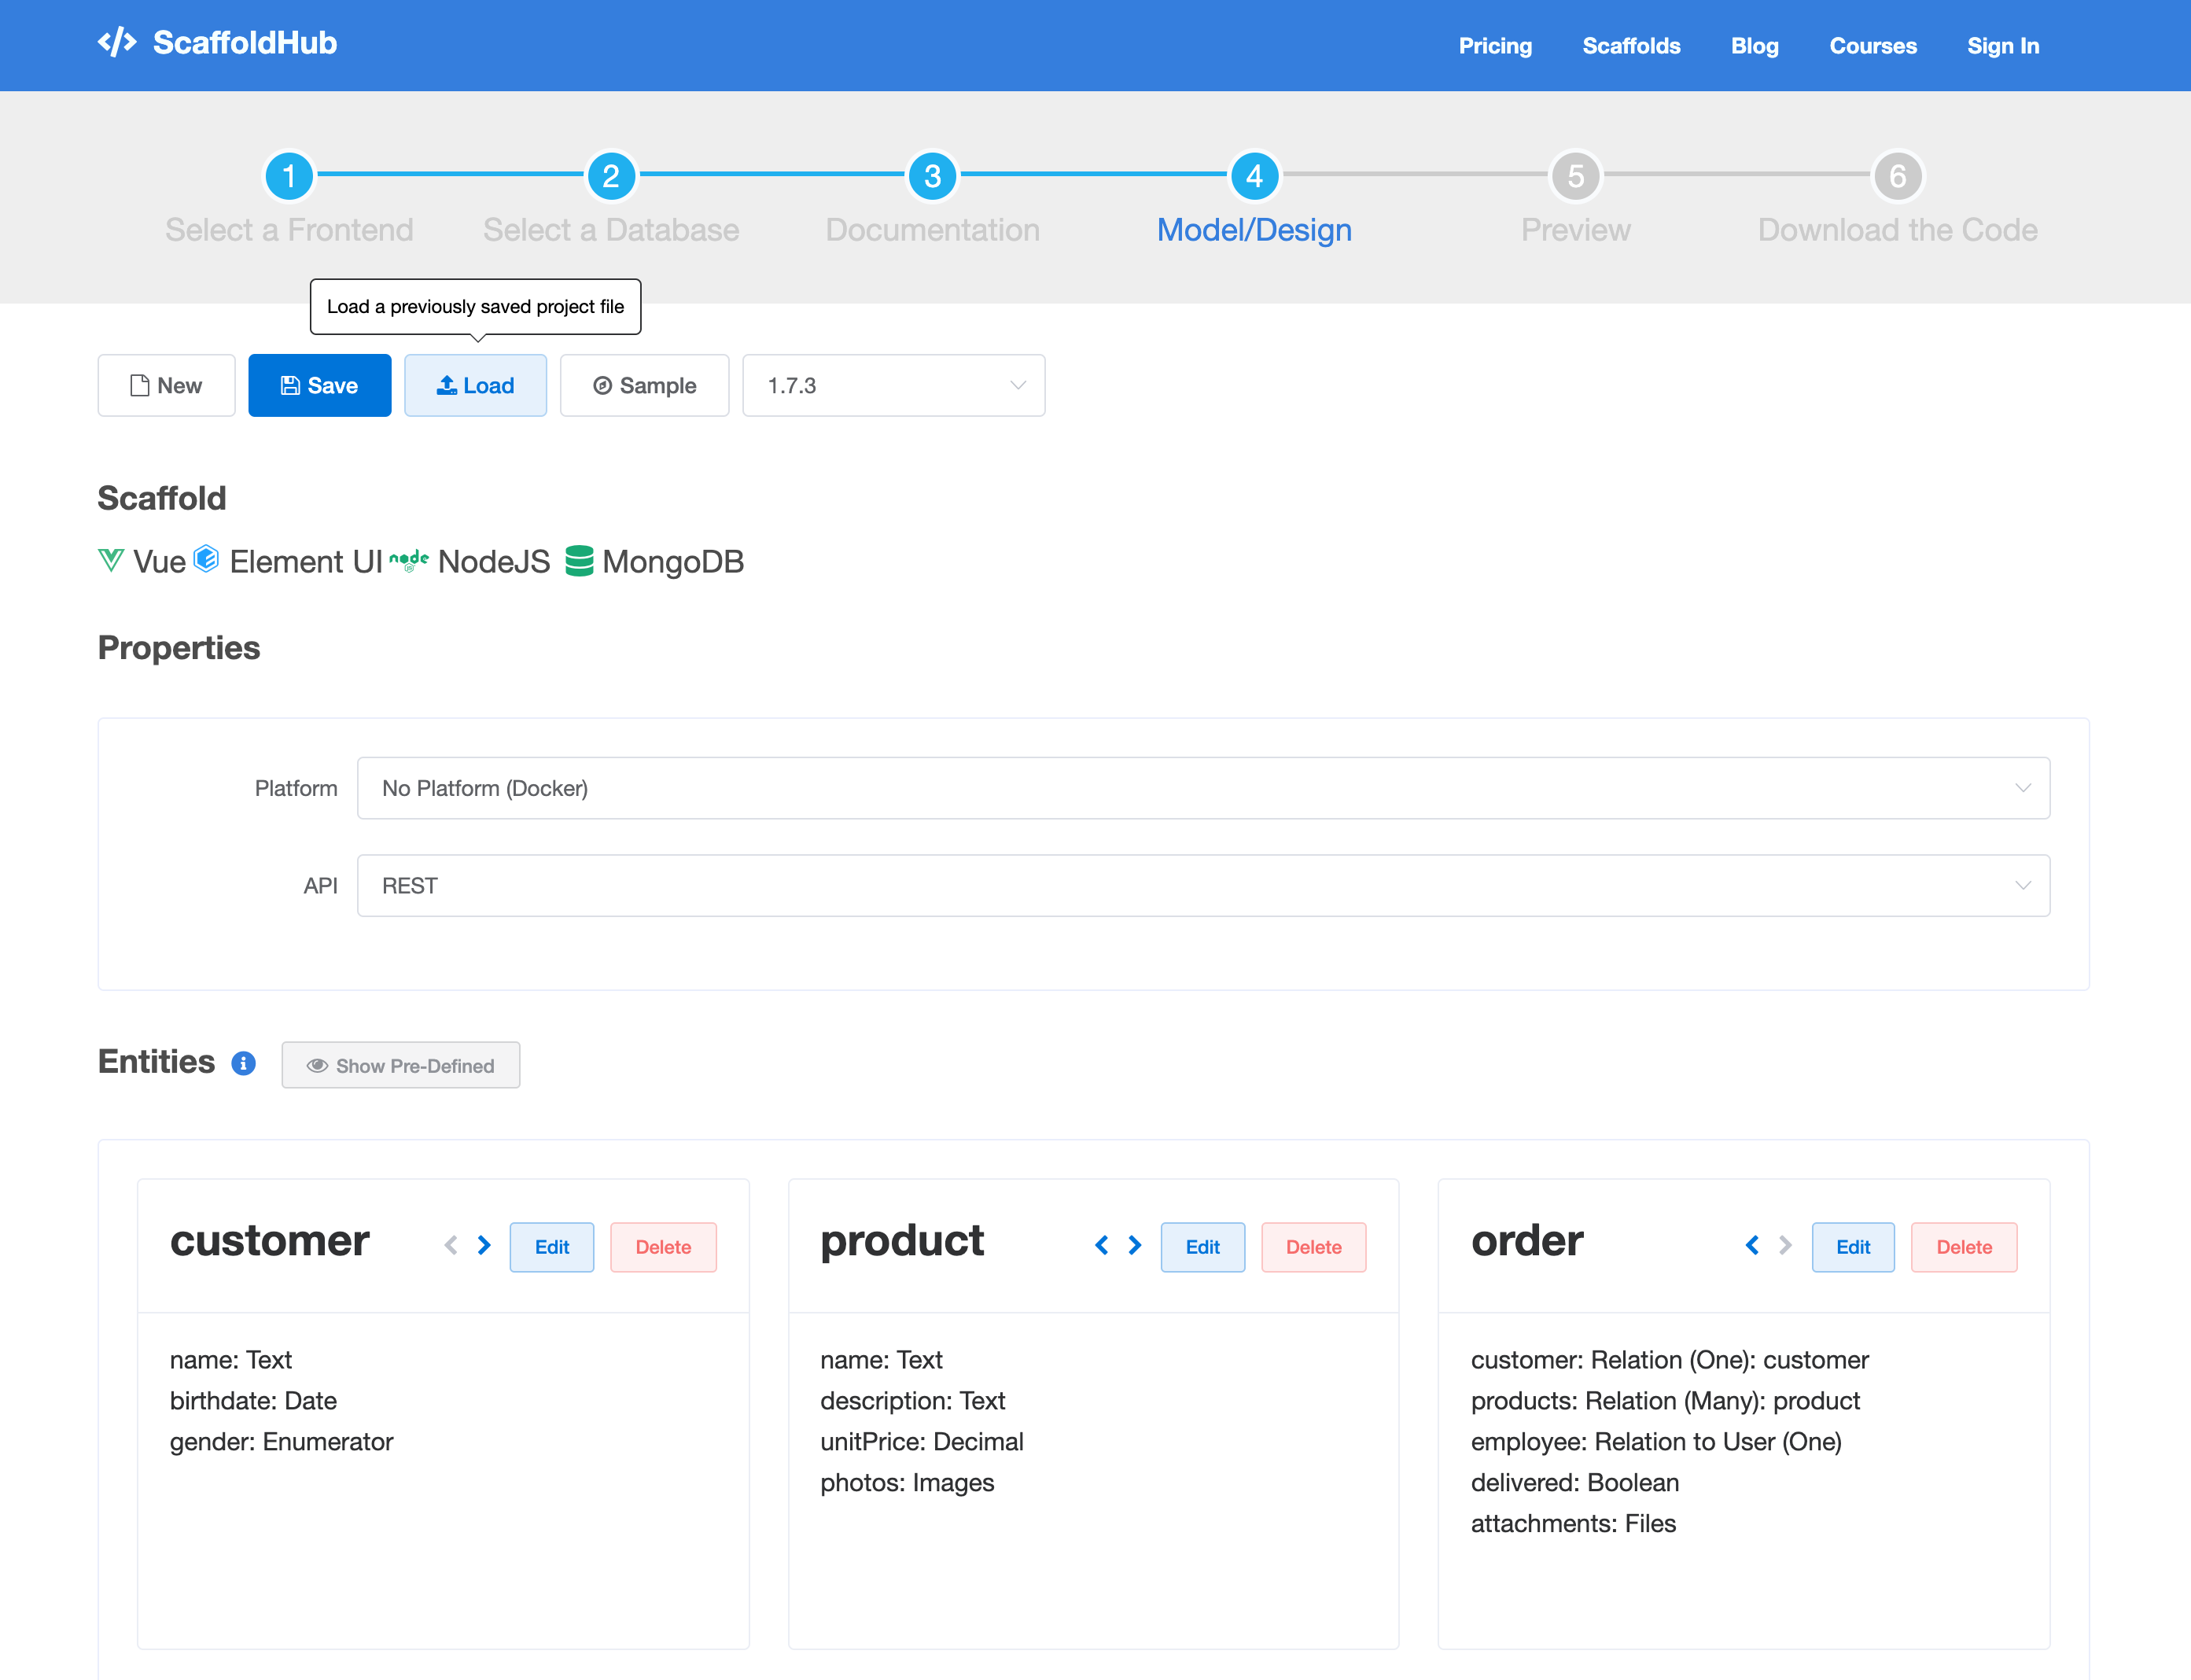
  • Available in ScaffoldHub which quickly generates project structures

Cons

  • Default language is Chinese. Setting to English requires some i18n settings
  • Doesn’t have much in the way of pre-made layouts or structured pages
  • Sketch design file does not utilize symbols or responsive layout features

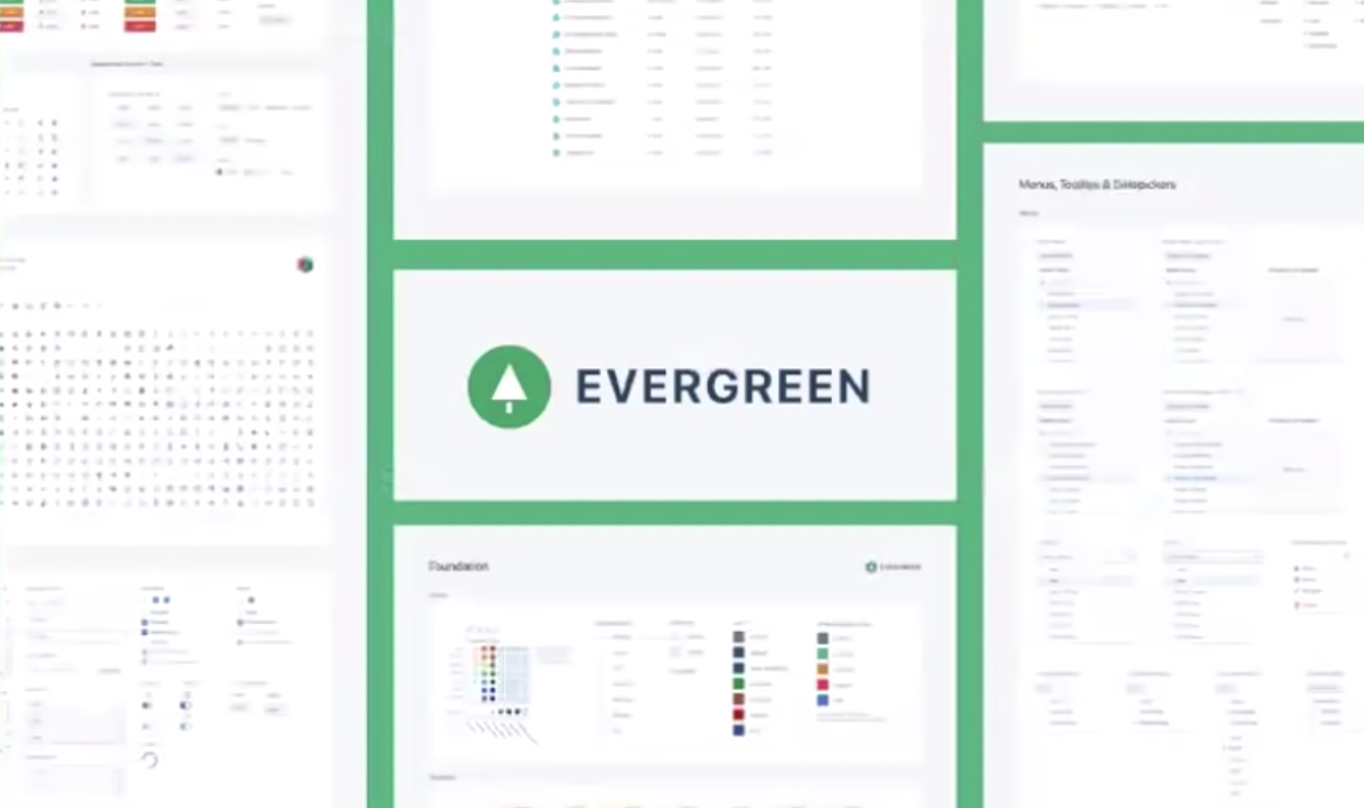
Evergreen by Segment

Price: Free
Framework: UIBox (segment’s own CSS-in-JS framework)
Available for: React


Pros

  • Visual design is clean and simple
  • Minimal set of components
  • Created by Segment, meaning it will likely continue to be updated
  • Includes a Sketch design file

Cons

  • No pages or layouts included, just basic components here folks
  • Fairly verbose component names
  • Customization is somewhat limited on components like tables

Rebass

Price: Free
Framework: Reflexbox (Rebass’s own grid system)
Available for: React


Pros

  • Minimal kit of only essential components
  • Includes dark mode options
  • Increases the maintainability of visual styles
  • Stateless, functional UI components
  • Supports theming

Cons

  • Some devs may not like Reflexbox, but there are simple ways around that
  • Rebass’ CSS-in-JS styling may not be for everyone (it’s not for me)

Bonus #1:

Build Your Own (with a kickstart)

Price: Spend time now, save time later
Framework: Custom
Available for: Everything (!)

If you want to build quickly and launch your product ASAP, definitely go for a proven UI kit, especially if design isn’t on your list of skill sets.

However, after you’ve had experience with a few kits and understand how they work, I would urge you to move on to a minimal framework with which you can build out something to fit your unique needs. At the very least, you’ll learn a tremendous amount from the experience.

There are plenty of minimal, JS framework-agnostic CSS frameworks available for your choosing. SkeletonPureCSSMiniCSS, or Milligram are all great. However, there were things I both liked and disliked of each. One of the dislikes being the inclusion of a grid system.

Why? Because these days CSS Grid is supported on nearly every browser, and is both incredibly powerful and easy to learn. If you aren’t familiar, I recommend you watch this talk by Rachel Andrews.

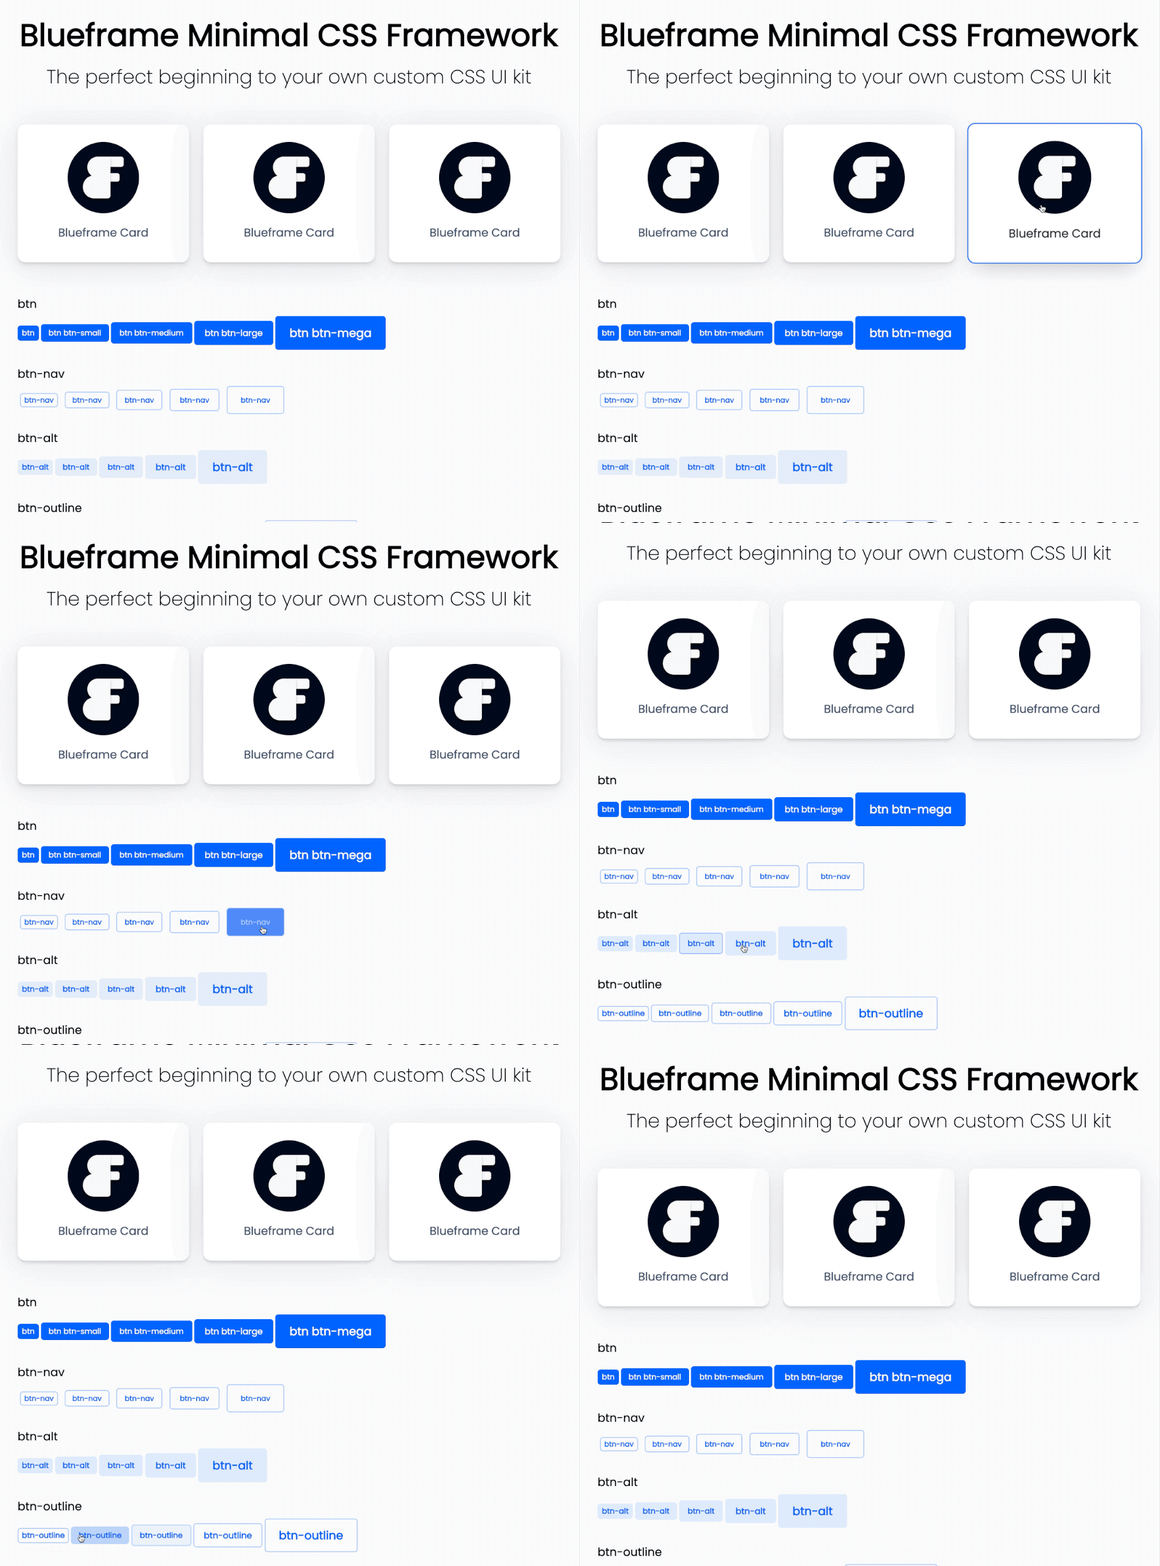
To get everything I needed without the things I didn’t, I decided to build my own open source minimal CSS framework. I call it Blueframe, and you’re welcome to download it from my Github. It includes CSS Normalize while using many of the utility class names of Bootstrap for easier adoption. If you’re familiar with Bootstrap’s classes, you already know how to use Blueframe.

Is it worth going fully custom?

While full UI kits save you time by providing tons of components to build with right away, you’ll also spend time ripping out the pieces you aren’t using. Build sizes will also be larger (meaning longer compile times), and overriding default styles is often a frustrating, and sometimes impossible task.

Building your own UI kit enables you to develop a unique style that fits your design preferences, rather than looking like every other app on the market. Evergreen and Rebass are a great place to start, but if React isn’t your thing, starting from scratch with Blueframe, Tailwind, Skeleton, or any other minimal frontend framework is a great idea.

Pros

  • Grows with you and your style
  • Easily customize new projects from a single master file, and never worry about fighting bootstrap or any other framework’s default styles again
  • Forget complex grid systems and do everything with CSS Grid
  • UI kits might come with curated packages already installed, but sometimes spending the time to choose your own for tables, animations, alerts, and other elements means you’ll be getting exactly what you want without any of the fluff

Cons

  • Time consuming to start, but pays off in the end
  • Maintaining your UI kit can take second chair to getting projects done. For some, it may not be worth the time, while others may find it more efficient in the long-run

@Credit UxDesign.CC

Centos7 Monit configure to monitor disk space usage detail report

Centos7 Monit configure to monitor disk space usage detail report

These steps will guide how to add Disk Storage monitor report into the Monit web access

First, you need to know which drive you want to be included into the Monit  report by following command

df


For example here I have one partition /dev/vda1 and I want to monitor it with the usage detail.

Update the Monit configuration file

Now open the monit config file by the path: /etc/monit.d/storagespace 

Create that file if it is not existed. Paste the following content

check filesystem Ubuntu with path /dev/vda1
    if space usage > 90% then alert

If you have multiple volumes, easy that clone those 2 lines in multiple breakdown. Note that Ubuntu is the optional name you want to be showed as alias name in report.

Done, save it.

Check and Restart Monit process

Check the configuration file is ok by command

sudo monit -t

It will output *Control file syntax OK* means fine, otherwise try to review again your config file.

Restart monit service

systemctl restart monit

Check for status of service

systemctl status monit


So everything is fine, now point to web browser to access monit report, by default port is 2812 and your url will look like http://<host>:2812


The monit monitoring my disk right now, so click on it will go to details


Finished!