![[Graphic River] – Vintage Food Menu Pack – Freebies Free Download](https://tran-it.s3.amazonaws.com/medias/2019/08/Opera-Snapshot_2019-08-06_153424_graphicriver.net_.png)
by tranit | Aug 6, 2019 | Freebies

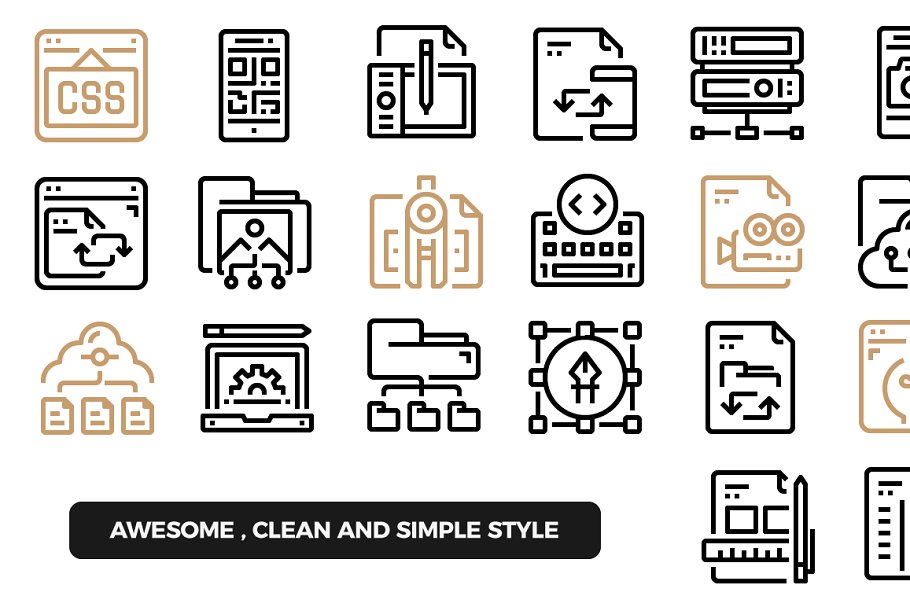
This PSD templates are HAND MADE with precision. Grunge, Vintage and Sketch Style! Are perfectly Suitable for Restaurant, Catering, Grill bar etc. Easy to edit font, text, color, fully adobe Photoshop format. Easy textures edit via smart object.
Support
Easy to customize fully need any help don’t hesitate to contact me through my profile
Bi-fold A4 – Features
- A4 with bleed area and safety zone
- Highly Organized Layers (Labeled & grouped)
- Easy to customize & change photo & textures via smart object
- 300 DPI High Resolution
- CMYK Color Mode
- Print Ready Format
- Help PDF file
Tri-fold A4 – Features
- A4 with bleed area and safety zone
- Highly Organized Layers (Labeled & grouped)
- Easy to customize & change photo & textures via smart object
- 300 DPI High Resolution
- CMYK Color Mode
- Print Ready Format
- Help PDF file
Business Card
- Highly Organized Layers (Labeled & grouped)
- 300 DPI High Resolution
- CMYK Color Mode
- Print Size 3.5” x 2”
- Print Ready Format
- Help PDF file
Free fonts used
The Freebies you download from this site is 100% legal, we collect them from promotions from world’s seller websites, credit back to source is always available below this message (if you want to support author, please purchase their products to get recently updates.)
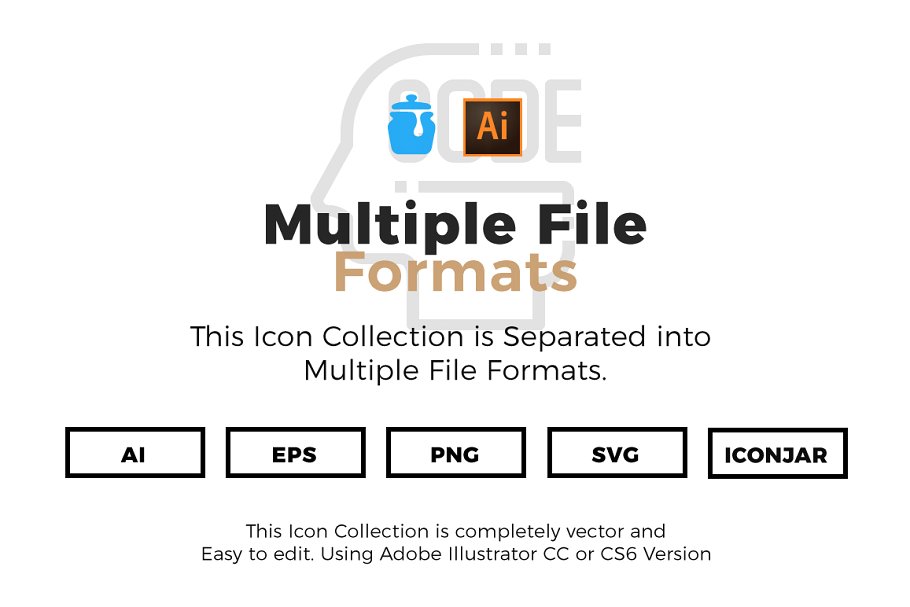
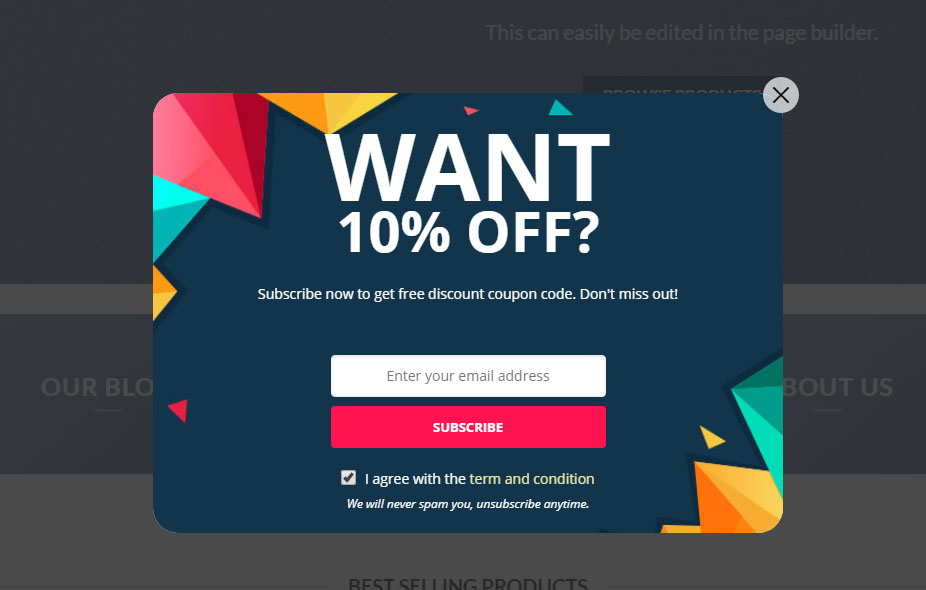
![[Codecanyon] – WooCommerce Coupon Box WordPress Plugin – Freebies Download](https://tran-it.s3.amazonaws.com/medias/2019/08/01_preview.jpg)
by tranit | Aug 6, 2019 | Freebies
Live Preview Screenshot Video Preview

WooCommerce Coupon Box is a plugin that helps you to collect your customers’ emails. The plugin displays a pop-up that let customers subscribing to their emails to get discount coupons.
- Display Coupon Box pop-up
- Sync with MailChimp and Active Campaign
- Send Coupon to subscribers
Features:
Coupon Box pop-up: A pop-will appear allowing customers to tick on the GDPR checkbox and subscribe their email.
- Pop-up trigger: You can select to display the coupon box pop-up after a selected time after customers scroll their mouse when customers are about to leave your site (hover mouse on close button)
- Minimize the bar: If customers skip the pop-up, you can select to hide the pop-up or minimize it into top bar or button of your page.
- Subscribe Reminder time: Schedule a time for the pop-up to reappear. You can set different times for case that customer subscribed to their emails and the case that customers skip the pop-up.
- Display only on Homepage: the option that allows you to display the pop-up only on the homepage of your site.
- Conditional tags: Configure which page where the coupon box will appear using WordPress conditional tags.
Coupon: The plugin can send discount coupons to subscribers. You can select to send existing coupons or generate unique coupons.
- Generate unique coupon: Whenever a visitor subscribes an email, the plugin will generate a unique coupon and send it to his/her email address. You can set up the coupon type, amount, prefix and all other settings like a WooCommerce coupon.
- Existing coupons: With this option, you will choose an existing coupon to send to subscribers. You can choose to allows only subscribed emails to use the coupon.
- Custom: Sending a custom code to subscribers.
- Do not use coupon: With this option, visitors will not receive coupons when they subscribe emails.
Email API: you can use API key to connect the plugin with MailChimp and Active Campaign. The subscribed email will be automatically added to your MailChimp/Active Campaign list.
Emails: The plugin will automatically send emails to subscribers. Configure the email content as you want.
- Email content: Write the emails that will be sent to subscribers with email heading, subject, content.
- Shortcode: The plugin provides you shortcodes to display necessary information in the email
{coupon_value} – The value of the coupon, can be percentage or currency amount depending on coupon type
{coupon_code} – The code of coupon that will be sent to your subscribers
{date_expires} – From the date that given coupon will no longer be available
{last_valid_date} – That last day that coupon is valid
{site_title} – The title of your website
{shop_now} – The Shop Now button - Shop now button: the button that helps the customer to use the coupon you’ve just sent to them. You can set up the title, the URL, and design of the button.
Email Campaigns: Subscribed emails will be saved in email campaigns.
- Export emails: export your subscribed emails as an excel file. You can select to export from a selected subscribe time or export from a selected campaign.
- List subscribed emails: you can check subscribed emails in the plugin backend any time with information about the email address, subscribe time, campaign, given coupon, MailChimp list/active campaign list.
- Email Campaign: Create/delete email campaigns to save subscribe emails.
Design: the front-end style of the Coupon Box pop-up to match your site’s style.
- Templates: 4 templates with 4 different element arrangement ways.
- Message: Display welcome, congratulation, thankyou-message.
- GDPR Checkbox: Display a checkbox allows customers to agree with your site policy, terms of use.
- Close button styles: 6 different icon style for the close button, size, position.
- Header style: Configure the header style with title and background. You can use images as your background.
- Body style: Configure the Coupon Box body style with text font, background image.
- Social Network icons: Display your social network on the Coupon Box pop-up.
- Subscribe Button: Design your subscribe button with text, text color, and background color.
- Custom CSS: The plugin allows you to add your own Custom CSS code to change the front-end as you want.
Auto-update: Fill in your Envato purchase code to active the auto-update feature. You can use only update automatically in support time that is working.
CHANGE LOG
**2.0.4.1 - 2019.01.17**
- Updated: Add argument always_visible for shortcode: [wcb_widget always_visible="1"] to always show shortcode
- Updated: Add multi language support for shortcode [wcb_widget]

**2.0.4 - 2018.12.29**
- Fixed: Settings usage limit and usage limit x items
- Updated: Change coupon amount to float
- Added: More background effects
- Added: Option to set ajax endpoint: Ajax or REST API
- Added: Option to enable Multi language(WPML and Polylang)
- Added: Preview email

**2.0.3.1**
- Fixed: check SSL

**2.0.3 - 2018.11.10**
- Added: Input fields color and background color customizer

**2.0.2 - 2018.10.06**
- Fixed: Some text not translated
- Fixed: Auto Update Key
- Fixed: Support class
- Optimized: Shorten unique coupon code
- Changed: Separate field name into first name and last name
- Added: Mailchimp double opt-in
- Added: SendGrid API

**2.0.1 - 2018.09.06**
- Optimized: Code and data
- Added: Fields name, mobile, birthday, gender
- Added: Option to show a small icon to call coupon box again when visitors do not subscribe
- Added: Small icon to call coupon box again when visitors do not subscribe
The Freebies you download from this site is 100% legal, we collect them from promotions from world’s seller websites, credit back to source is always available below this message (if you want to support author, please purchase their products to get recently updates.)

by tranit | Aug 6, 2019 | News
Below you can find a list of ways you can make money as a developer. I’ve wrote these items a while back and I thought that people might find it valuable so I decided to share it with you. ?
- The most common is to have a job at a company or work as a freelancer for multiple clients
- Create and sell digital products (plugins, components (in React, Angular, Vue, Bootstrap, etc), themes, etc)
- build a SAAS (Software as a Service)
- create web, mobile and/or desktop apps where you can have ads or in-app purchases
- Create a blog and monetize it via:
- ads (Google Adsense, carbonads, etc)
- sponsorships
- become an affiliate and promote other people’s products
- promote your own products
- get paid to write articles for publications
- write and sell ebooks and/or physical books*
- create a YouTube channel (on topics like: tutorials, developer lifestyle, tips & tricks, news in the field, etc) and monetize it via:
- YouTube ads
- sponsorships
- affiliate marketing
- promote your own products
- create online courses and/or online programs
- live stream (on Twitch, YouTube, etc) and monetize it via:
- donations
- monthly subscriptions
- create a podcast
- sponsorship
- promote your own products
- work on Open Source projects and get donations and sponsorships
- create a Patreon page where people can support you
- create a job board and get paid by companies to connect them with developers, designers, etc…
- sell swag
- sell a newsletter
- have 1-on-1 coaching sessions
- create a trading bot
- participate in paid coding challenges
- participate in bug bounty programs
Feel free to suggest anything else that should be added to the list!
Credit @Dev.to

by tranit | Aug 6, 2019 | News
In this post, basically, I don’t put options. If you think this command is lacking something important, you will need to check Docker Doc(https://docs.docker.com/)
pull
pull command is almost same as git pull. Get an image to local from Docker hub.
$ docker pull kojikno/conda_docker
push
push command is also the same as git push. This command uploads your Docker image to Docker Hub. This allows others to use your image or you can use the image from any machines. For example, you can use the image for CI. I’m using my own image for Circle CI to run the test.
The free plan allows us to have one private repo. You can make your image secure. The following: python3.7 is a tag. Generally, a community organization provides multiple versions of images.
For example, node:latest, node:11, node:10 etc.
$ docker push kojikno/conda_docker:python3.7
build
This command is to create an image from Dockerfile. You can see what Docker file is in the following post.
https://dev.to/kojikanao/learning-docker-002-images-5deb
ml_conda_docker is an image name & tag.
$ docker build -t ml_conda_docker:latest .
images
This command shows you images you have. I think I have used this command so many times lol
$ docker images

REPOSITORY                  TAG                 IMAGE ID            CREATED             SIZE
arm64v8/ubuntu              latest              56c6cce7dd32        7 days ago          57.7MB
circleci/picard             latest              7d0931871af3        2 weeks ago         103MB
arm64v8/node                10.16.0-stretch     3583429b1ae9        3 weeks ago         853MB
rwmodel/runway/densedepth   cpu                 186943877dd5        8 weeks ago         1.85GB
rmi
This command is to remove an images. Sometimes images are huge, so need to delete images especially when I create an image from container which is based on an image from Docker Hub.
$ docker rmi image_id/image_name

$ docker rmi $(docker images -q --filter "dangling=true") <-- remove images which is named none
create
This command creates a container but doesn’t start a container.
$ docker create image_name
run
This command is to run a container or start a container.
You should check the options.
https://docs.docker.com/engine/reference/run/
Also you can check my post about container(https://dev.to/kojikanao/learning-docker-001-containers-5ac6)
$ docker run -it image_name/image_id bash
ps
ps could be your best friend when you use Docker.
This command shows you running containers’ information. If you want to see stopped containers, you can add -a.
$ docker ps

$ docker ps -a
commit
This command allows us to create an image from a container. We can pull an image and add/install anything we need then do commit. After that, we can start run/create a container the image we committed.
One thing you should know is that commit creates a new image from the image you pulled and the size of the new one could be bigger than the based one. So, you need care about your storage if you don’t have enough storage on your machine.
$ docker commit container_id iamge_name:tag
start
This command is to start running a container.
$ docker start container_id/container_name
stop
This command is to stop a running container.
$ docker stop container_id/container_name
exit
When you are in Docker container, you can use exit to get out there.
$ exit
attach
This command to attach local standard input, output, and error streams to a running container.
$ docker attach container_id/container_name
rm
This command deletes a container which is not running. You can remove multiple containers if you put multiple container_ids
$ docker rm container_id/container_name

# This commands remove all exited containers.
$ docker rm $(docker ps -qa --no-trunc --filter "status=exited")
+α
system prune
This command is to remove unused data.
If you really want to clean up your Docker environment, you can use -aoption. However, this option removes all unused data so be careful when you use this option.
$ docker system prune OPTIONS
exec
This command allows us to exec another process in a running container.
$ docker exec option container_id/container_name
Actually, there are so many commands you can use/should know, but I guess for a beginner like me these commands are kind of enough to learn the basics of Docker.
Hope this is useful for someone!
If something wrong or missing something important, please leave a comment!!!(I’m still learning Docker ?)
Docker Doc
https://docs.docker.com/
Docker cheat sheet
https://github.com/wsargent/docker-cheat-sheet
If you don’t like to use CLI, you can use Docker with GUI like kitematic(https://kitematic.com/), but probably CLI could be helpful to understand Docker since we will need to write Dockerfile, docker-compose.yml.
Credit @Dev.to

